Dreamcatcher Crafting Ideas

Craft ideas for kids with Cricuts
July 4, 2020
Host An Awesome Birthday Party For Your Kids.
July 12, 2020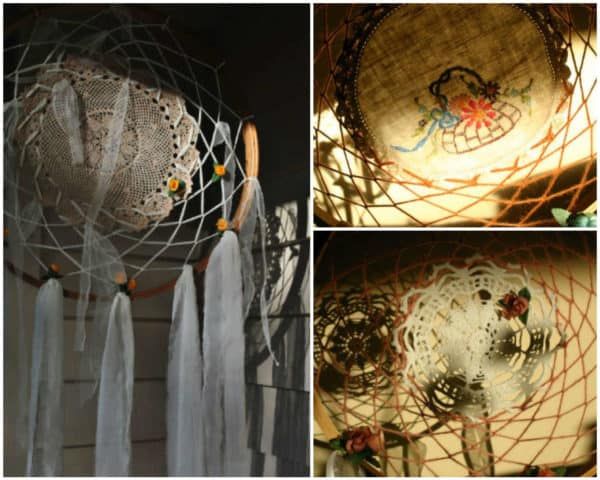
To filter out nightmares from the innocent sleeping ones, well-wishers and caretakers have always resorted to one object since time immemorial, the dreamcatcher. Legends say that dreams float above us in the night sky and they enter our minds when we are most vulnerable, that is while we sleep. The Algonquian Ojibwa speaking tribe, known as the Ojibway, were the first to be identified using this fascinating tool to ward off the dreams that scare and scar the innocent. The dreamcatcher has its beauty in acting as an aesthetic tool as well beyond being one of the Crafts For Kids. With a lot of handy online tutorials, it is a breeze to be working on DIY Crafts these days.
Let’s Get Started
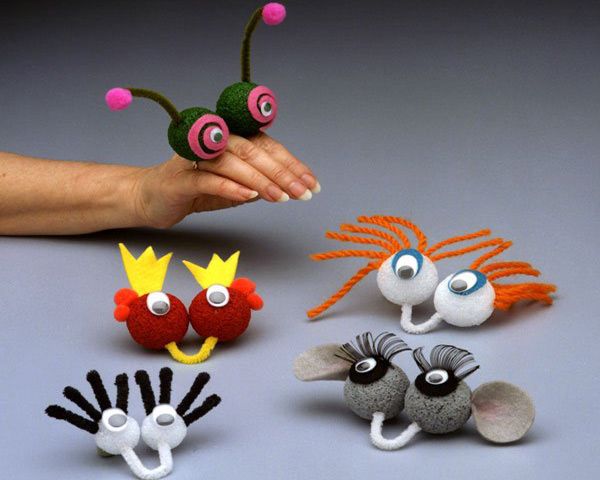
You might have seen what a dreamcatcher looks like. It is a circular frame with designs in, around and outside it. The hollow structure allows for the wires to be shaped within it artistically, and this enhances the design approach. Using simple materials available in the house such as embroidery hoops, wool, feathers, cardstock, felt balls, keyring, faux-leather, armature wire, wooden beads, scissors, glue, yarn or embroidery thread. As these materials are natural to source from in and around the home, the Kid Activities can begin with a scavenger hunt for these necessities. It will be fun to have kids run around the house in search of these objects, which are gift wrapped or in boxes. The step to cover and label these objects are essential as some of them are sharp and can be dangerous.
The Birth Of A Dreamcatcher
The Crafting Ideas are pretty intriguing for children to develop an analytical mind. The steps to make a dreamcatcher are simple but fun to go crafty! The embroidery hoop’s inner ring will be our dreamcatcher’s periphery. After separating the inner ring from the outer loop, paint it and let it dry. To make the design look authentic and appealing, add a centrepiece from a key ring or a small hoop or even make a shape of your choice using the armature wire. Make sure that it is at least 11.5 gauge so that it can hold the strength of the peripheral ring as well. Now the centrepiece can be set up using duct tapes on the ends and wrapped with thread or yarn based on your liking. Using yarn, wrap the outer hoop to the centrepiece by tying a long piece through a weave. Fill up the frame with even spacing between loops and tie the loose end with glue so that the craft stays intact.
Adding A Few Final Touches
The tail is the prettiest part of a dreamcatcher, and it helps to make it as crafty as possible! Coloured feathers, faux leather objects, wooden beads, felt balls, are to be inserted along the tail. Cardstock shapes can be added by sandwiching them between the string. Tag the tail to the dreamcatcher with glue around the shaft and let it dry.
Know More About : Thinking Of Tie-Dyeing? Simple Instructions For Beginners